Wednesday, November 10, 2010

Pandan Frenzy

Pandan Layered 

This little cake was done ages ago.. If I remember correctly, it's nearly 2 years ago..That time I just discovered felt craft and am so excited about it. The technique was from a craft book but the design is my own. I used whatever things I have to decorate this cake and actually I'm quite pleased with it. It's been some time since I make them and as I don't have the equipment to do craft now, I miss them so much.

Friday, November 5, 2010

Studio for Crafting

Since coming to Nottingham, I had not been in touch with any craft items and after 40 over days, I finally starts to miss them. Thinking about all my craft materials at my home is terrible...

I actually wanted a real life studio where I can have a personal space to craft without caring I burn the table top or smudge the the floor with my colours, or scratch any surface with my never-ending-cutting-with-cutter-activities. This studio doesn't need to be very big in size. In fact, just the small size..about the size of my bedroom will do. Inside this studio, there would be a craft table, super big size, so I can put all my things on it and never have to clear them..(LOL..) and behind me would be the wall with cork-board so I can put all memo and photographs there. All along side the wall would be racks and cupboards for all my craft items and stuff. Ample of space is needed as I would always be adding things into it. Then there would also have a table with ovens and other equipment so it would be convenient. Maybe a small sink would be a good idea as well. Oh! And don't forget about a display shelf for me to display my craft! This would be a white shelves with glass door and have to be clear glass so everyone could look into it without opening the doors. Another important items for the studio which I nearly overlook would be a television and dvd set. This is very very important as well because I love to watch the tv while I work. It make the crafting process so much more relaxing and fun to do. Isn't it? That's what I love about crafting. I don't have to worry about concentration as I could do both things together. (Haha..)

The studio room would have to be in my favourite colours. The wall behind my chair would be light pink and the others could be in white. White might seem boring but it is the best colour for making the room spacious, clean and bright. It would be necessary as I wouldn't clean my studio often. (^_^")

Air-conditioning is very very very important as fan would be blowing my stuff everywhere.

I think that will serve very well for my crafting needs. Currently, I did all my craft all over my home, inside my room (which will make my room extremely dirty), at the living room (which means I have to clear up before dinner time... ), and open-a-table-and-do-anywhere-in-the-house (but this table couldn't fit everything and is only temporary). Not quite a good idea though. My idea of a studio is because I want all my craft items and materials in places where I could browse and decide which to use instead of them all stuck inside boxes underneath my bed and table, which I need to open one by one if I need them. Therefore, sometimes, I just forget about it and use whatever it is on the table. Pathetic..

So, after my explanation, don't you guys think that having a craft studio is necessary? It is important isn't it? It is a dream and it will come true one day. Not now though, as my home doesn't have enough rooms... T_T

(hmm..to fullfill my dream maybe I could do a 3d version of it 1st? haha)

Wednesday, October 13, 2010

Miniature Pet World

I'm currently at Nottingham, UK for my master studies. Will be here roughly a year. So, I don't think I could make any miniature as all my tools are left behind at Malaysia. Anyway, before I depart for UK, I did these miniatures to my heart content.

This Pet World is my latest creation.

Pet World box set

All the things inside

I'm so excited when opening this box set as it contains miniature doggies.. So damn cute! Haha.. And the colours are so striking that I really have fun making it.

Mini tin food for puppoes and kitties

Boxes of puppies food

Cuties 

Puppy basket and magazines and collar and bone-shaped pillow

Pillow with puppy foot print

This little pillow is sew by yours truly. A little bit cacat but I think it's cute. LOL..

Felt chair + Pillow

This little pillow on the chair is sew by yours truly as well. Haha.. And the lace is just UHU to it.. The middle part is really sew and I really like the effect.

Doggies collar and clothes hanger and doggies coat

The doggie coat is soo cute but it's really hard to make as I don't understand the instruction. So I just made it my own way. Haha.. The clothes hanger is so cute to make.. and really easy as well. I learn a new thing. But that dog collar is a bit hard and need some patient as the parts are so small you need delicate fingers. I don't have. ^^"

Kitty house and her bowl of water

This kitty house is really a joy to make. Simple yet soooo cute. The colours are nice, the wood is easy to stick and the shape is interesting. Have never made anything like this before. Haha..

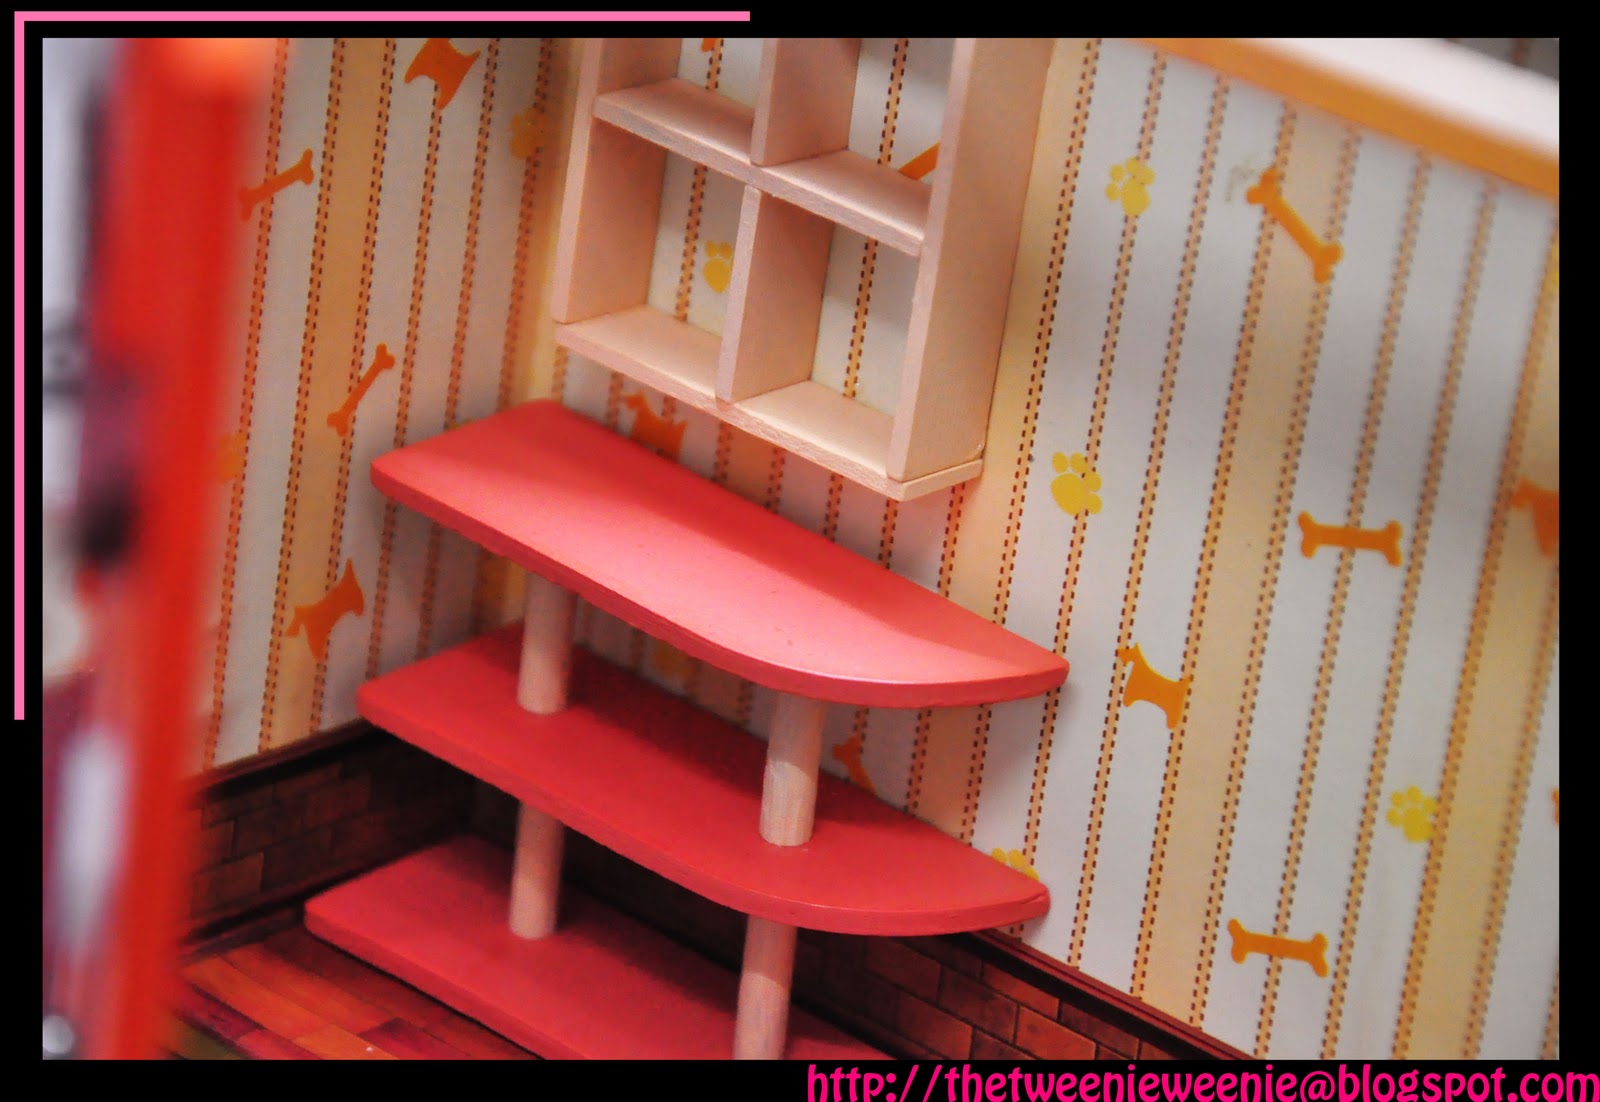
Cabinet for the pet shop

Those cabinets are darlings. Looks sooooooooo cute inside the shop. That's my dream shop. If I were to have a pet shop, I would definitely have some cabinets like those inside. Really makes the whole shop lighten up. Don't you agree?

Pet World exterior

Alright. After I put everything inside, this is what we see from the outside. When I saw those cute little thingy inside from the window, my heart melts. Haha..

The signage and awning

The black rail that hold the signage is purely twisted by me. Haha.. I want credit for it as it is not easy to do. For others maybe yes but for me, I don't have the knack for twisting them. So it became not perfect. Haha..

The doggie signage

This looks easy to do right? Cut the picture and paste it on the wood. But I tell you.. cutting the dog face is NOT easy! Its head have a lot of fur thus a lot of shape. So I struggle with it.. =.=

All things inside cabinets

Doggie and Kitty


I always love the part where I have assemble all the tiny tiny things and all left to do is to put them inside cabinets and etc. This is the part where I can arrange to my heart content and as I like. It's really the fun part. Sometime I even wish I don't stick them so I can arrange them anytime. Haha.. But if I do that, it will fall when I move them around. LOL..

Everything inside

Everything is in order now. When I see them inside, I'm really happy. And will get very excited. My family couldn't understand why am I so excited with them. Haha.. But it's really really cute!  ^^

Thursday, July 15, 2010

Cupcakes

Cupcakes Ear-rings


Remember I have a bazaar (d'Gurlz) at Subang Parade before CNY? I make some mini cupcakes for sale as well. That's Tweenie Weenie debut! LoL..

I still have this fads with cupcakes and clay but lately, I did not manage to bake anything. Due to my competition coming soon and previously all the auditions for orchestra, on-going piano, violin and guzheng lesson and not to forget my classes with the little ones.

So, I feel I have abandoned this blog. To make up for it, I decided to post some pix from the bazaar. Mostly on my bakeries. For more pictures, visit d'Gurlz.

Mini cupcakes charm

All these are going at RM10 each. However, shoppers thought I am doing an exhibition instead of selling items. Everyone come to our booth and "Ahhh..."  "wOWoooo"  "OOhhhh"     but no one buy. T.T

It's Tweenie Weenie first debut and also failure. *sobz..* damm sad. But I am not going to give up! I am on the look out for any other bazaar or flea market. Come and support me will you? ^.^

Strawberry and Lemon cake

The strawberry and lemon cake. This is purely for decoration purposes. Cause, this is my 1st successful cake so it is not for sale. Many people admire and admire.. Don't know whether it is honest admire or fake.. Since I sell zero bakeries that day.

Anyway, I promise I will continue to bake more pastries for your eye candy. ^.^

Thursday, July 1, 2010

Miniature Japanese Garden

* DIY Miniature Kits*

Alright.. I've been putting off this post for months.. Haha.. But let me get this straight first. I've finish this miniature garden for months.. but I'm just plain lazy to post about it. Haha..

So, compare to the previous miniature Japanese room, this Japanese garden is very very much easier to make. Besides having lesser things, the structure is also easier. I guess the only problem is sticking the grapes (beads) together.. haha.. I have big fingers so it is really troubling me a lot. But no worries. I have the patient. I did it!

Now, let's put your hands together for my latest creation! *clap* *clap* *clap*


*Front view*

Note the grapes hanging on the left side?? That's the hardest part. So I guess it look a bit cacat-ed but still, I did it! ^.^

The background is nice as well. Look like it have some depth to it. But actually it is flat. Haha.. Gives me a lot of ideas what to do to my miniature in the future. Hehe


*Bird eye view of the picnic table*


With frutis!! The table seems a little small and the chair is badly made.. But I guess that's what we get for such cheap price. Haha.. Anyway, I have great fun arranging the little foods on the table. That is really really great fun. It is easy to do and fun to make! ^o^

*The hanging plant*

The hanging plant is nice too.. I just need to arrange the flowers inside the pot. Just like a smaller version of my flower pot in my garden. Haha.. Besides, the plant at the corner is sooo beautiful. Don't you just love the variety of the plants included in this set?!


*Zoom in*

Clearer pic of the hanging pot. See the grapes behind? Looks weird right? haha..

So, that wraps up my 2nd DIY Miniature set. I hope the 3rd is coming. I've bought a 3rd box but haven't have the chance to finish it yet as I'm now currently practicing for a piano competition at Hong Kong. So, after that I should have all the time in the world to complete the 3rd set. Haha!

Monday, May 17, 2010

2nd Japanese Miniature Doll House on-the-way

It's on the way! Just bought 1 last weekend and started it straight when I'm home. This time it is more of an outdoor-sy miniature than a indoor room. Cutting those leaf have been driving me crazy.. not to mention sticking the 'grapes' together.. when I'm done, u will know what I mean..

However, now I look at it properly, it doesn't seem to have a Japanese feel of it.. Haha.. More of a western country look.. But, it's still very very lovely.! Haha..


Stay tune for more pictures later on!

^,^ 

Wednesday, May 5, 2010

Miniature Japanese Room

Labour day is a day for relaxation. I choose to do my miniature! ^.^

I bought this set of DIY miniature set at 1Utama, Qbox! I think that's the name if I'm not wrong. Located at Lg. Rm39.90. Influence from kim kim

Can't wait to get started to construct my miniature set. Eventhough I've always say that buying the DIY set is always more expansive than buying the raw material and build it myself. However, this DIY set save me a lot of time and hassle from cutting and measuring which I somehow always seems to do very long.

Since it has already been measure and cut, all I have to do is just assemble. Which means I can complete this set in just 3 hours. Compare with few days of measuring, cutting, sticking of my models last time.. Haha..

This DIY set is great. The only problem I have with it is the choice of colour chosen and the quality of the material provided. The balsa wood that made the door is crooked and the measuring is not right. I still have to cover up the top part as it is not long enough to reach the ceiling. (No time for that yet though ^^")

And I do not like the colour of the wood. Not realistic. Ok.. I'd admit I'm being fussy here but what do you expect from a student from design? Lol... I've been critic often enough. If I'm in the mood, I would coloured the wood again but too bad.. I'm not. I'm just too excited to stick them together to see the final result.. haha..

And one more thing, the decoration items for the shelves aren't proportionate enough. The size is tooooo big which cause me to separate the head and body to fit it into the cabinet.. OMG.. =.="

Other than that, the design is good. I really like how it turn out. I might add more items to it later but for now, it's good enough.. Haha..And I think I've already write too much for your eyes. Let's have ONLY pictures now.


*The box of the miniature set*


*The guides.. all in chinese. So only can see pictures which is a bit frustrating at times.. Lol*


*Everything inside the DIY set*


*Told you I don't like the colour so I change the colour of the ceiling and photoframe ^^*


*The tatami flooring.*


*The tatami flooring after added the wood. That's the wood colour that I don't like. haha *


*Front View of the finish miniature*


*Another overall view of miniature*


*I like this area. But the photo at the wall seems a bit big, (proportion again) and the photo background is suppose to be white but I don't like it. So it became pink. ^^*


*Another flower. This time it is a vase with flowers. This is pretty. ^^*


*Brid-eye-view of my dear miniature*


Monday, May 3, 2010

Missy Dollhouse

My 1st doll house miniature made 100% from 0.. Lol.. I use an old photoframe and start to build a box behind the frame. Then build miniature inside.. I love my little cupboard.. And I confess that I'm already very tired and bored when I did that table so it look really.. weird.. haha..

Initially I intend to include more things into it..And also maybe some led.. But then, I get tired and stop already.. If I'm not mistaken, it's already been 5 months.. almost.. haha.. So I think I will just post this up 1st and maybe if I do really add things into it I will update it. ^.^

Just enjoy the pictures will ya?


The front view of the Missy room


Another angle of the Missy room


View of the table that I made simply.. =.="


A bit bird eye view ^.^


Notice the photoframes? I love making them sooo much! Pictures are from magazines.. Lol..


The cupboard that I loves so much! And I also really enjoy making the mini packages.. I guess I prefer to make smaller items instead of those big big things.. Lol..


Thursday, April 15, 2010

Sweetie Dream Cake

One of my previous creation that I made just for fun. Spend most of the time making the cake itself. The fun part was to decorate the cake. I put in most of my prize creations..such as marshmallow (eventhough it look a bit odd but I like the colours), fruits pieces, creme, and mini layer cakes.


Sweetie Dream 1


Sweetie Dream 2


Sweetie Dream 3


Sweetie Dream 4


Sweetie Dream 5